MANUALS
On this page you’ll find instructions for the different products.
Please select the type of item you purchased and start the application. Before you know it your room make-over is finished.
Non-woven murals
In lanes
Peel&Stick
In lanes
MuralTex murals
In one piece
Peel&Stick circles
Up to 140 cm
MuralTex circles
from 160 cm
1) Preparation
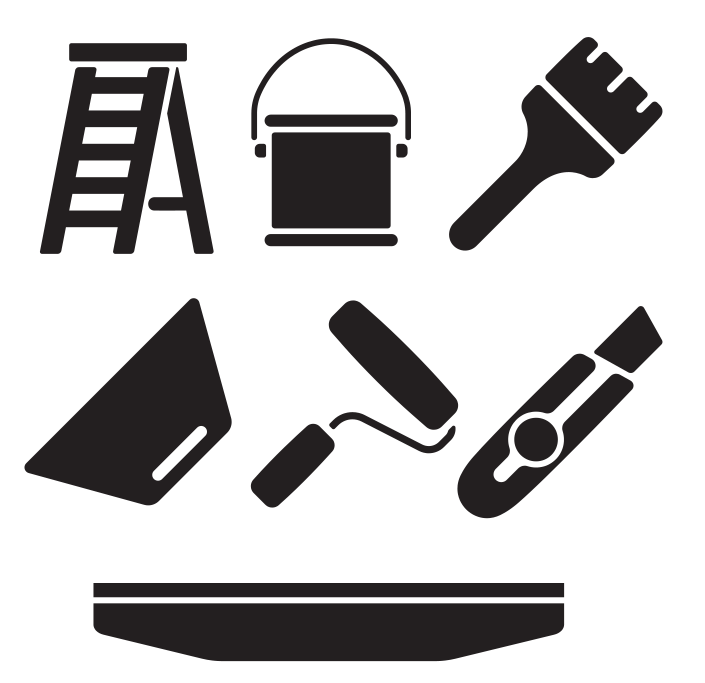
- Necessary / useful tools: ladder, glue suitable for non-woven wallpaper, block brush or glue roller, spatula, pressure roller, knive, cutting ruler.
- Because our MuralTex wallpaper comes in one piece it is advised to apply the wallpaper to the wall with two persons.
- To prevent shrinkage, it is recommended to allow the wallpaper to acclimatize for 24 hours before applying it to the wall.
- The optimal temperature to apply the wallpaper is between 18 – 25 oC and a humidity of about 40% – 65%.
- Ensure the wall / surface is completely flat, clean, dry and smooth. For the best result the wall should be in one color.
- If you are going to a apply the wallpaper to a newly plastered wall, first apply primer and let it dry properly before applying the wallpaper. Otherwise the glue will not properly adhere and the wallpaper does not stick.
- If applicable, switch off the electrical groups of any sockets and/or switches that are present on the wall, and remove the frames.
- Cover the floor is cover foil or old newspapers and prepar a sturdy ladder so you can reach every part of the wall.
- Carefully cut open the box and remove the protective packaging from the rolls. Unroll the wallpaper to check if everything is in order.
2) Application
- Prepare the wallpaper glue according to the specifications on the packaging of the glue.
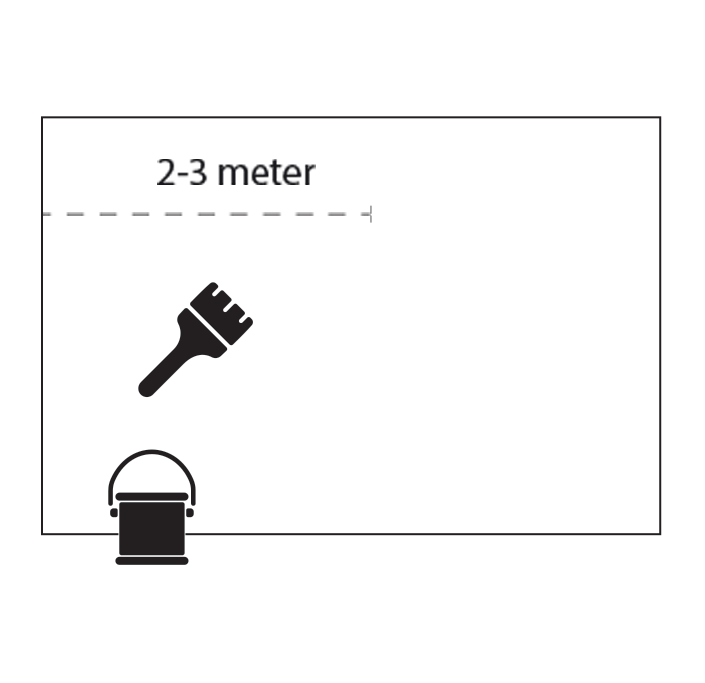
- Use a block brush to apply glue to the first 2-3 meter to the wall starting from one side (in this tutorial the left side). Do not apply the glue to the wallpaper. You can use a wallpaper glue roller to spread out the
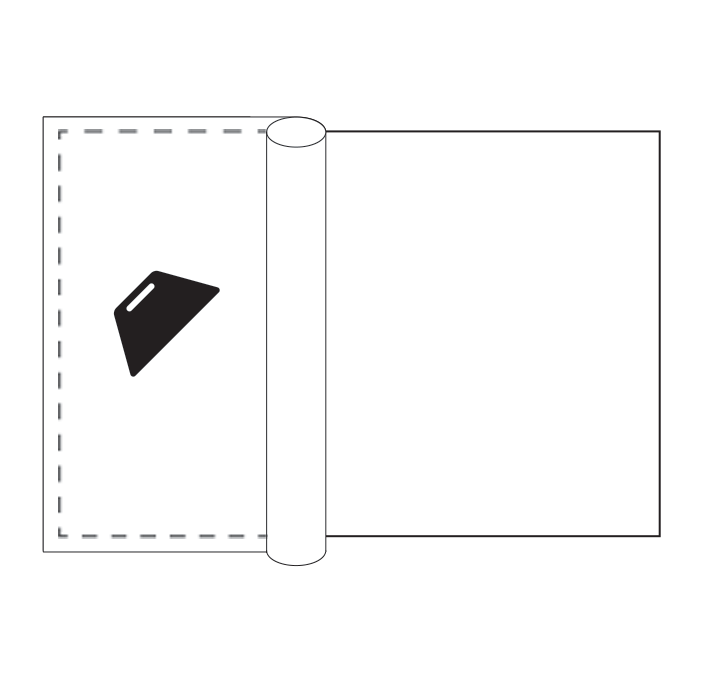
- Hold the wallpaper with two persons and stick the first part to the left part of the glued wall.
If you added margin when ordering, overlap the wallpaper about half of the margin to the top and side of the wall.
Example: if you added 10 cm margin to both the length and heigth let the wallpaper stick out about 5 cm to the left side and the top of the wall. This way you leave some margin in case the wall/ceiling in not completely straight.
- Press the wallpaper to the wall firmly using a wallpaper spatula or wallpaper pressure roller and smooth it out from top to bottom. Make sure there as few air bubbles as possible. If there are too many bubbles, pull the wallpaper loose and apply again.
Small air bubbles will disappear when it dries up. Larger air bubble could be removed by making a small puncture with a pin and then wipe the air out with the spatula, but better to prevent large air bubbles. - In the corners press the wallpaper extra firmly to get a clear folding line. This will make it easier to cut the extra wallpaper later on.
- If the first part is stuck to the wall correctly continue with the other part and repeat the steps above.
3) Finishing
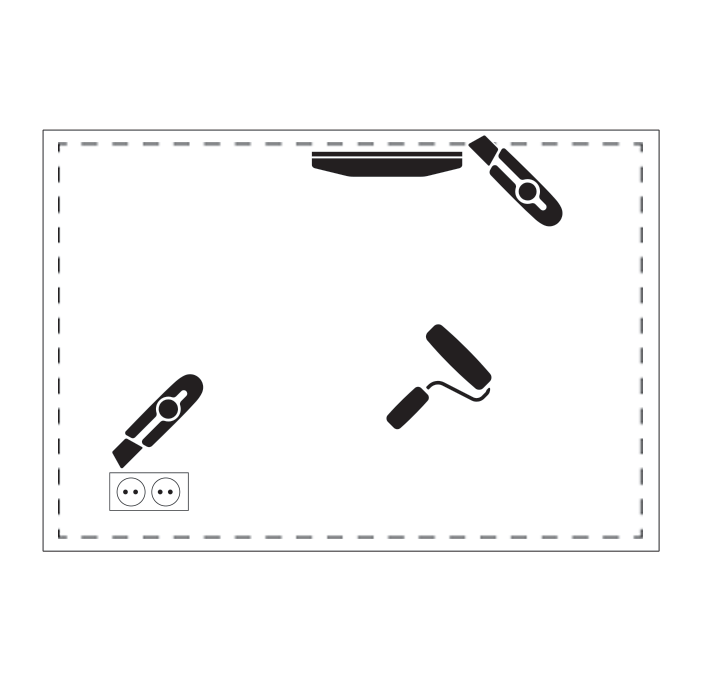
- Press the wallpaper to the wall firmly using a wallpaper spatula or wallpaper pressure roller.
- Check all the edges and seams and make sure they stick properly. You can use a seam roller to make the transitions between the lanes even more tighter.
- Cut off the edges preferably using a longer (cutting) ruler.
- Cut out any sockets, windows, doors or other obstacles. For bigger cut-outs like a window, cut it to size bit by bit untill the object is cleared. So do not try to cut it out in one go.
- Remove excess glue with a dry cloth.
- Place back any removes frames from the sockets and switches and put the power back on.
- Your wallpaper is ready!